
In my previous monthly log, I talked about hosting my own server and its infrastructure. Today, I'm going to explain a bit about a service that I use every day hosted from my server. I've never liked remembering passwords and I used to have the same password for multiple services up until a few years back. I started using Bitwarden as a password manager because it's open source and it's core functionality is publicly available on GitHub with some enterprise features paywalled. It has an unofficial fork of sorts, called Vaultwarden, that offers all the paywalled features for free. Vaultwarden is also super lightweight and performant because it's written in Rust, whereas the official Bitwarden server is built using .NET (C#).
Why use a password manager?
I was initially under the impression that a password manager would be yet another app that I'll have to manage. But in reality, they work very well as most phones and browsers have support for password managers. What this gives you is the power to create new logins, long and strong passwords, passkeys, and time-based one-time passwords for 2-factor authentication.
Vaultwarden deployment
Deploying Vaultwarden is super easy. You can go to their GitHub page and copy the Docker command or contents for the Docker Compose file. I use Docker Compose and it just requires some basic parameters.
services:
vaultwarden:
image: vaultwarden/server:latest
container_name: vaultwarden
restart: unless-stopped
environment:
DOMAIN: "https://vw.domain.tld"
volumes:
- ./vw-data/:/data/
ports:
- 127.0.0.1:8000:80
Vaultwarden doesn't work well on HTTP since it handles sensitive information. You can test things out locally but for any kind of deployment, you'll need to have SSL certificates so that communication between your clients and the server are secure. Because I'm using Pangolin, it was very easy to expose it to the Internet, get free SSL certificates from Let's Encrypt, and have my very own instance of a password manager. Once you have the instance up and running, you can use the official Bitwarden clients to access your instance. Make sure that you create an account for yourself and have a super strong master password. This is the only password you'll need to remember. If you lose this, you lose access to your vault.
Connecting to your instance
After you've installed the client, on the login page, there's an option to point the client to a self-hosted instance. Once there, just enter the URL of your instance and you're good to go. You'll also need to allow the client apps to auto fill information on forms so that your saved passwords, OTPs, and passkeys can be used while logging in to apps and services.
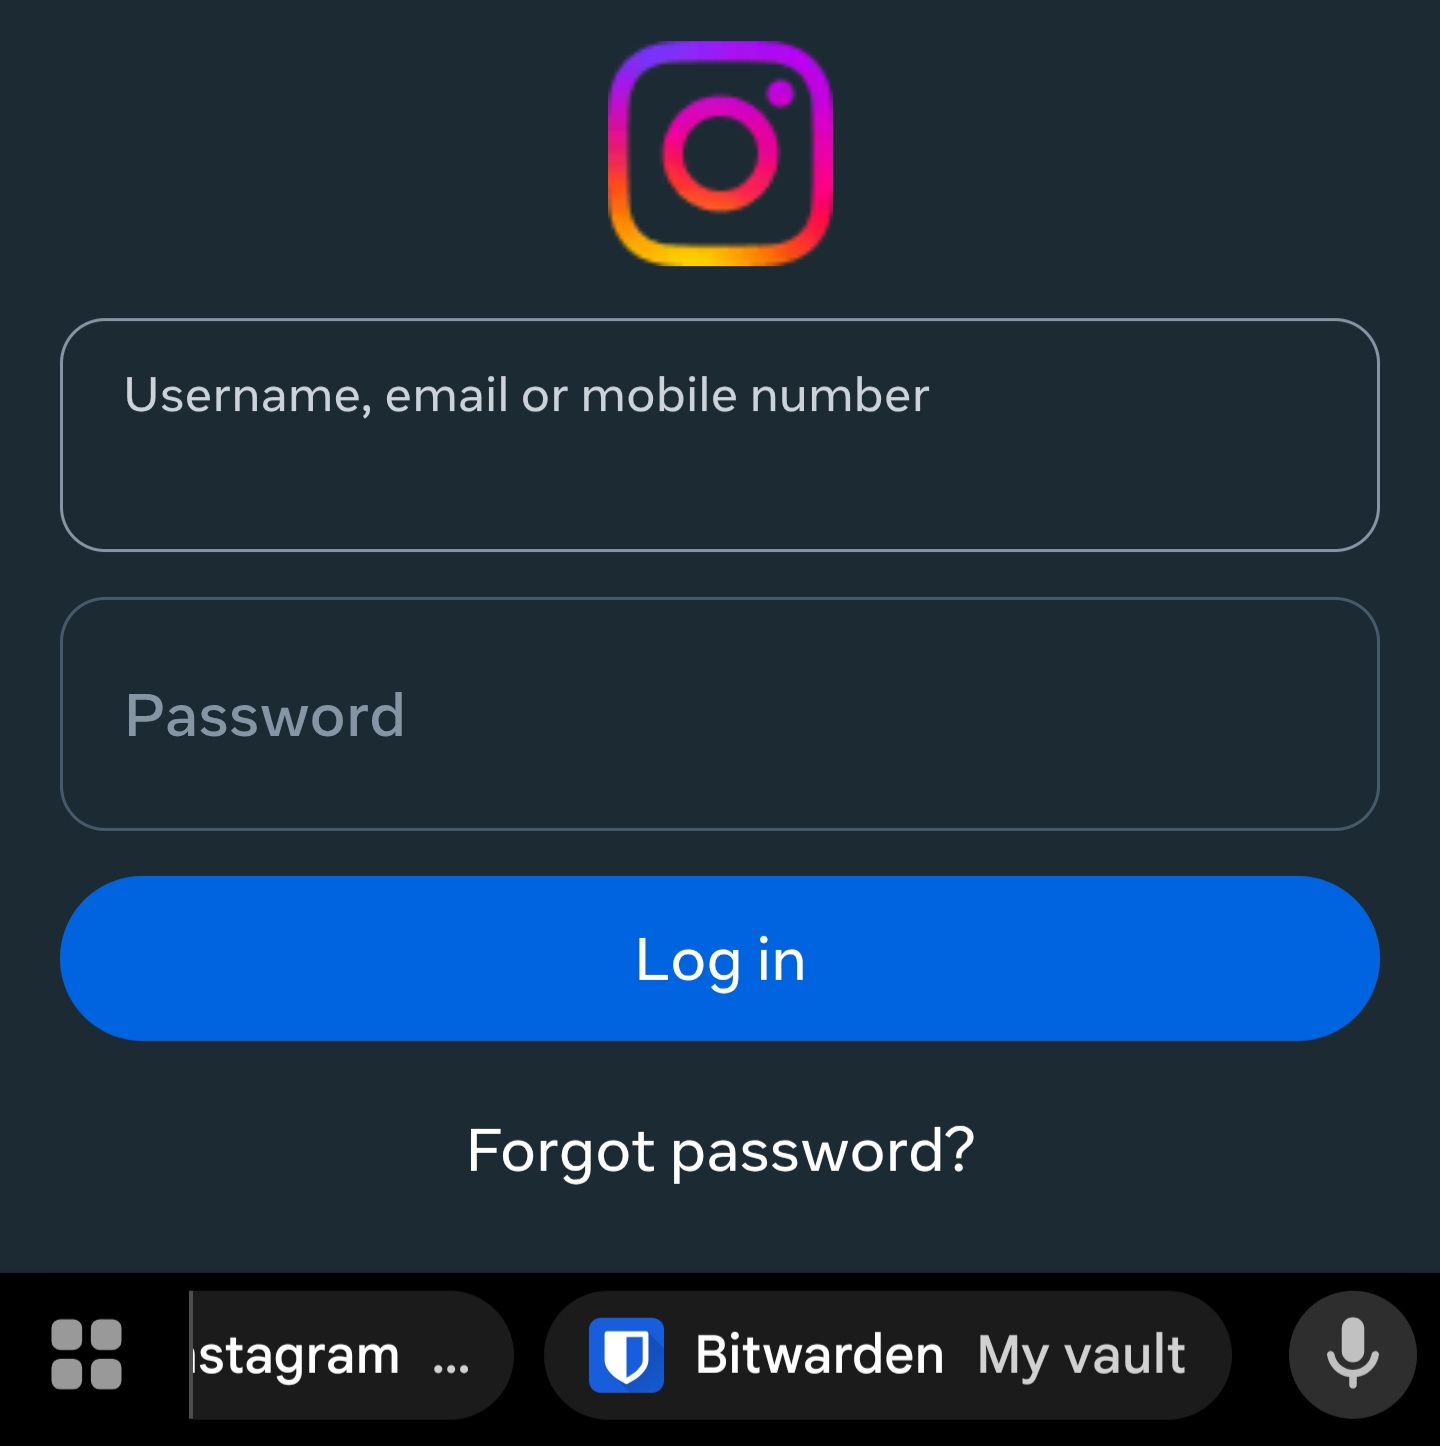
If everything went well, the next time you're on a login form, you should see the password manager just above your keyboard. You can now start creating stronger passwords, passkeys, and more without having to worry about remembering them. This is the least you can do to try and secure your digital footprint.
That's it for this one. Until next time, happy writing!